



Black and white architecture Photoshop course
Original price was: 149,00€.119,00€Current price is: 119,00€.
(124.17 Euros excl. VAT))
- Rate for 1 person
- Course duration: 3 hours
- Prerequisites: basic knowledge of Photoshop
- Video summary provided (recorded live during the course)
The date and time of the lesson will be arranged by email or phone after booking,
taking into account our availability and the time difference.
(see description below for more details)
Before giving a precise description, I'd like to point out that this course is certainly one of the flagship products among those offered here. I've been specializing in this particular black & white technique for several years now. I apply my own methods to produce these monochrome images with their distinctive rendering and interesting visual impact.
One point needs to be made clear here: all images are the result of daylight shots. Similarly, none of the basic images are the result of long exposures (the threading effects are therefore added during the image creation process).
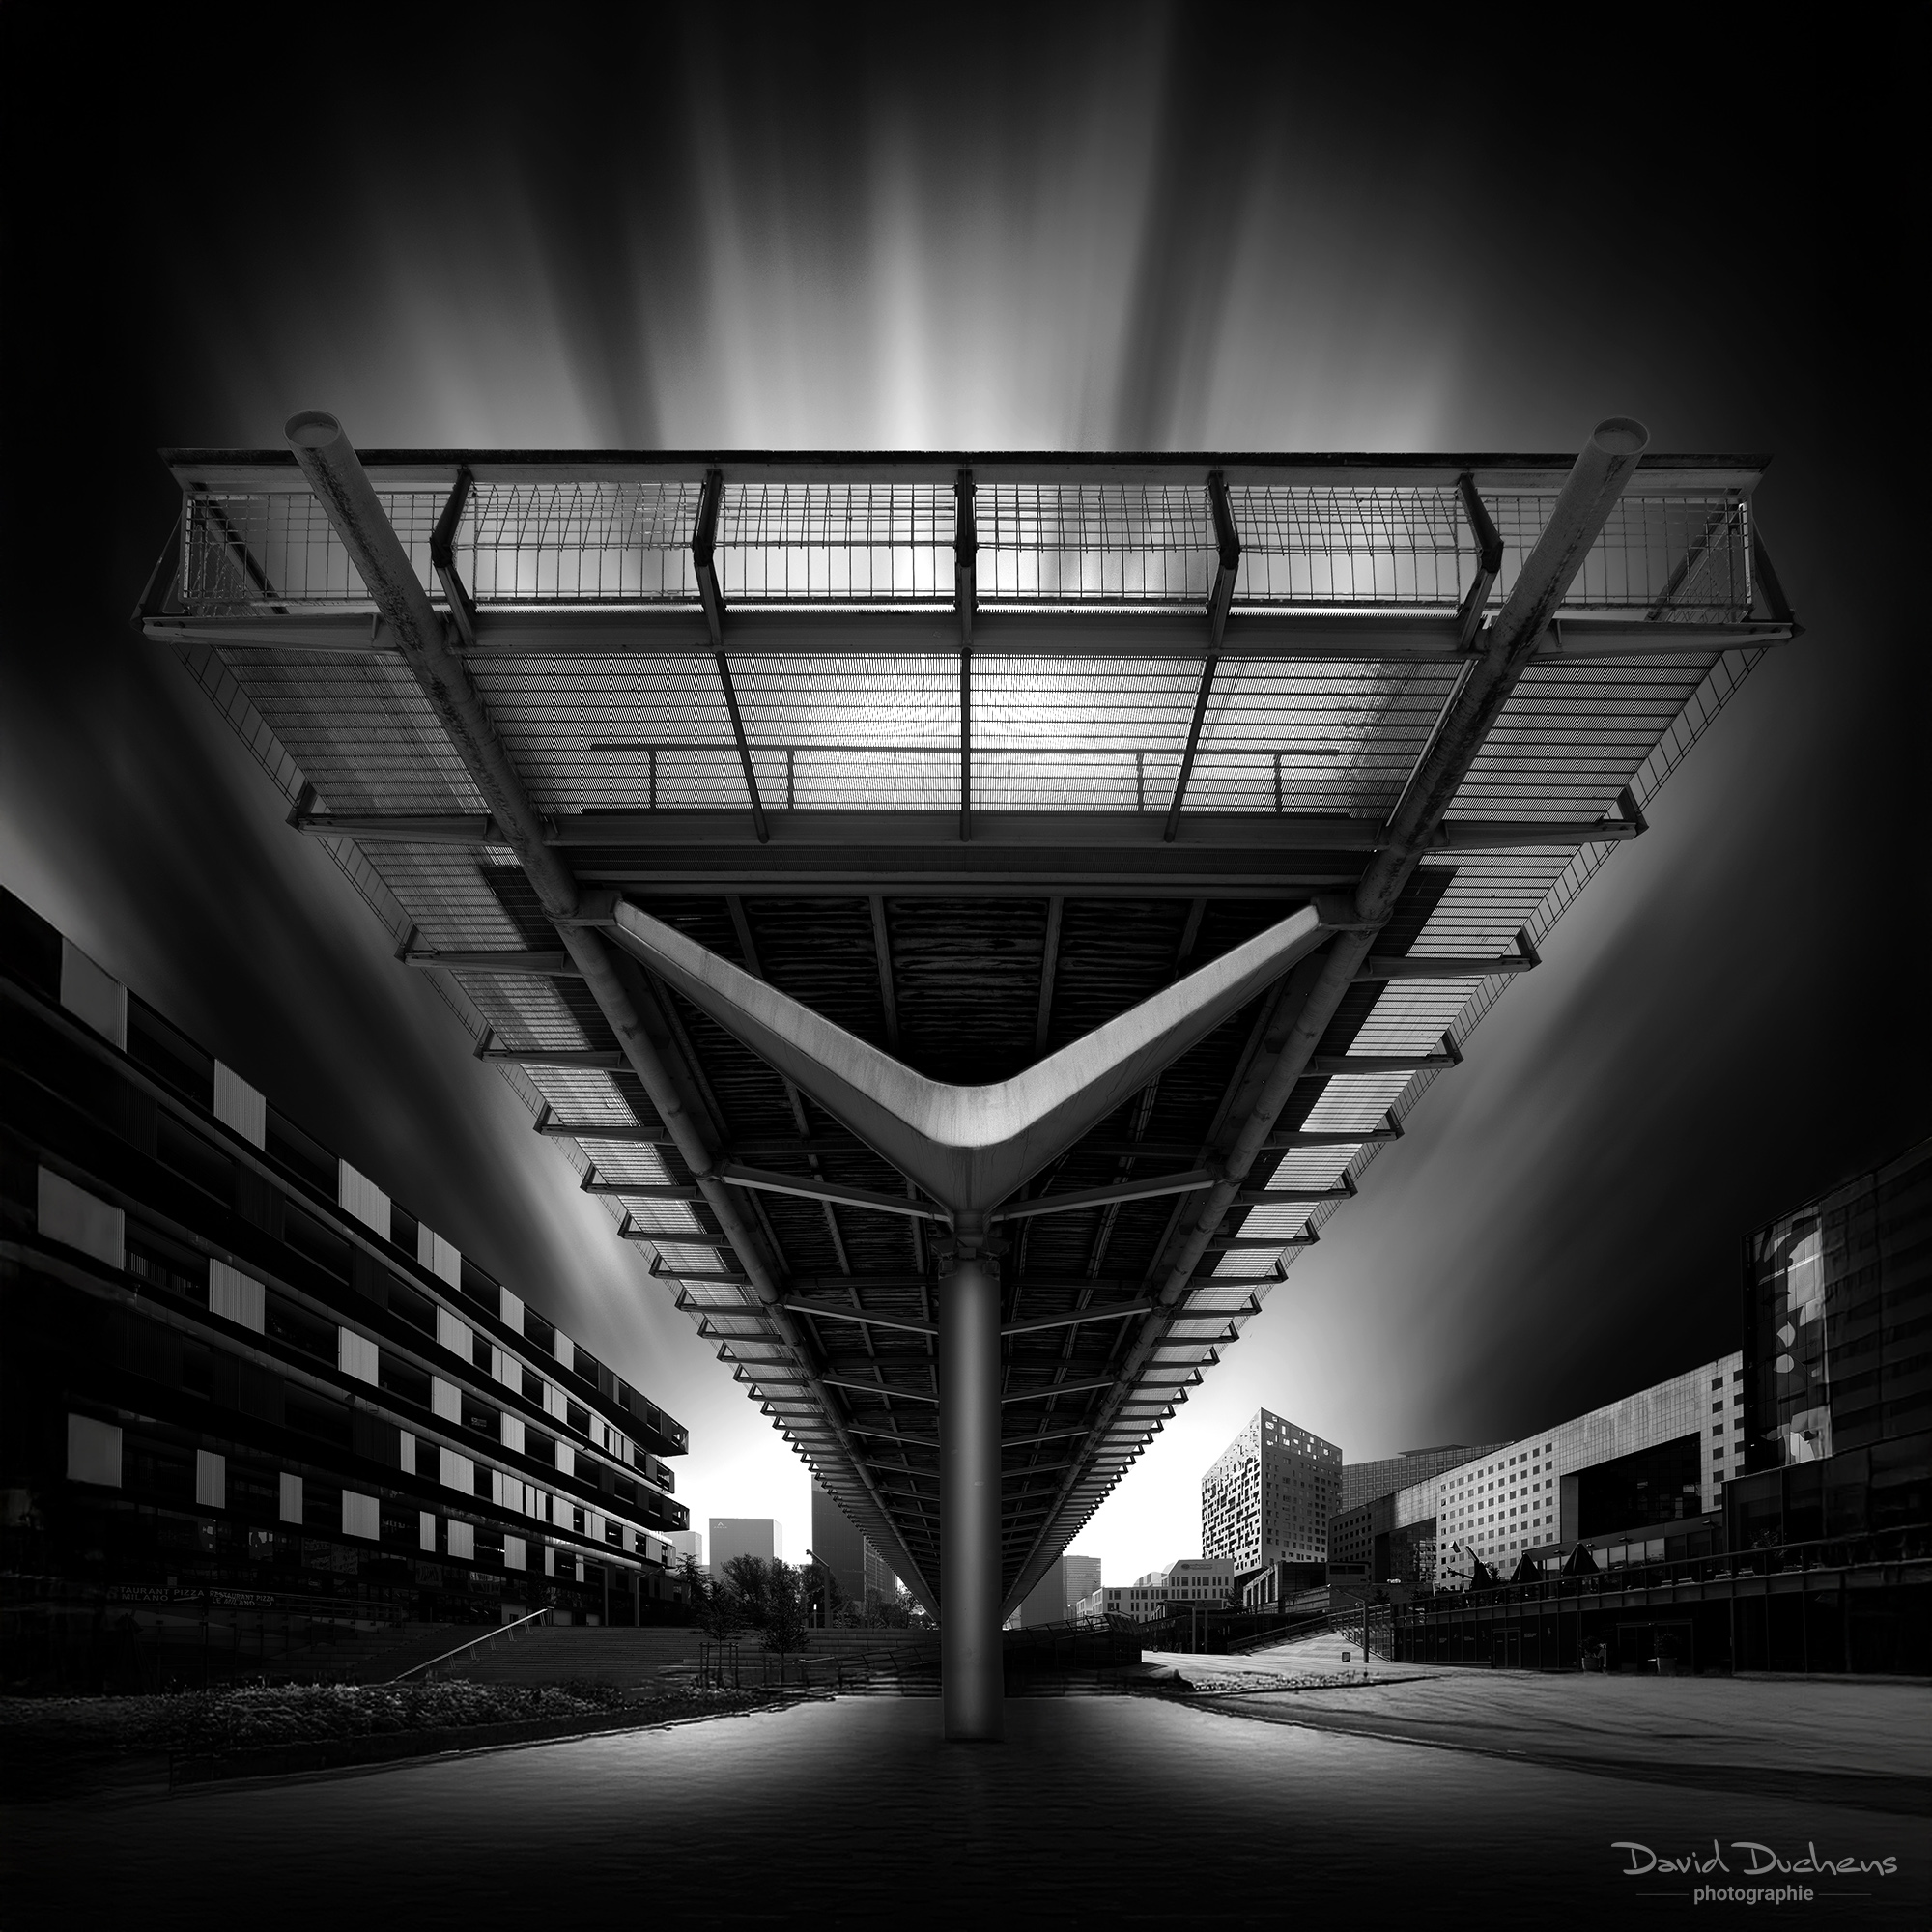
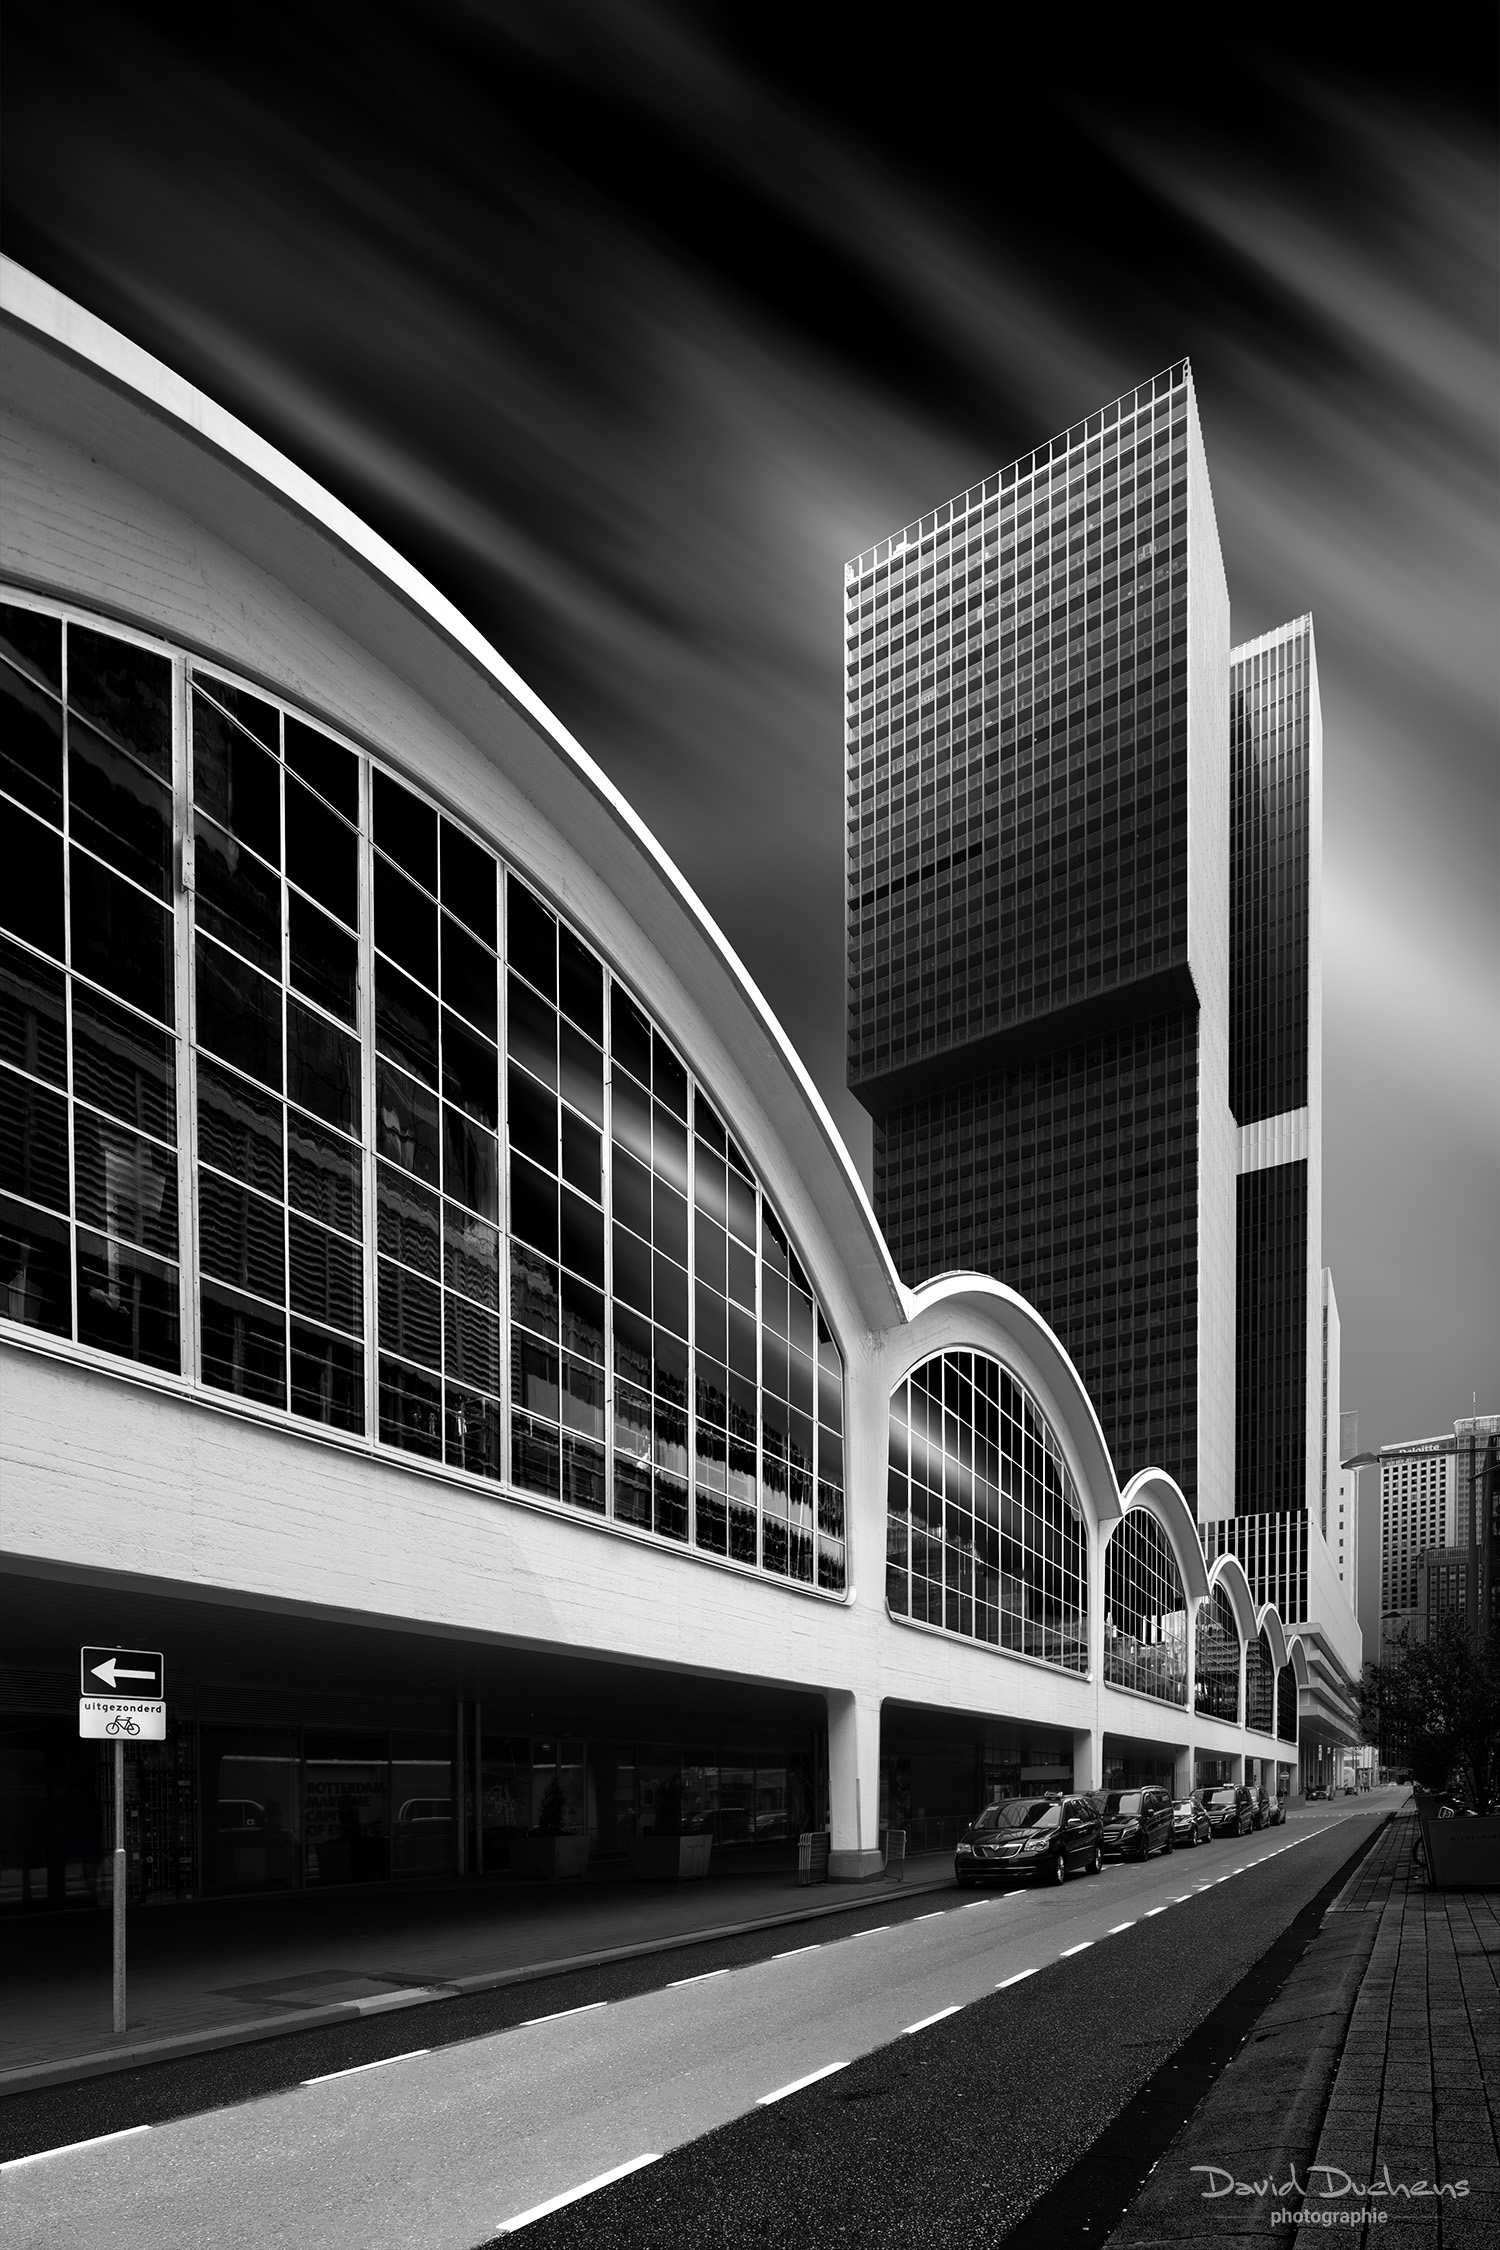
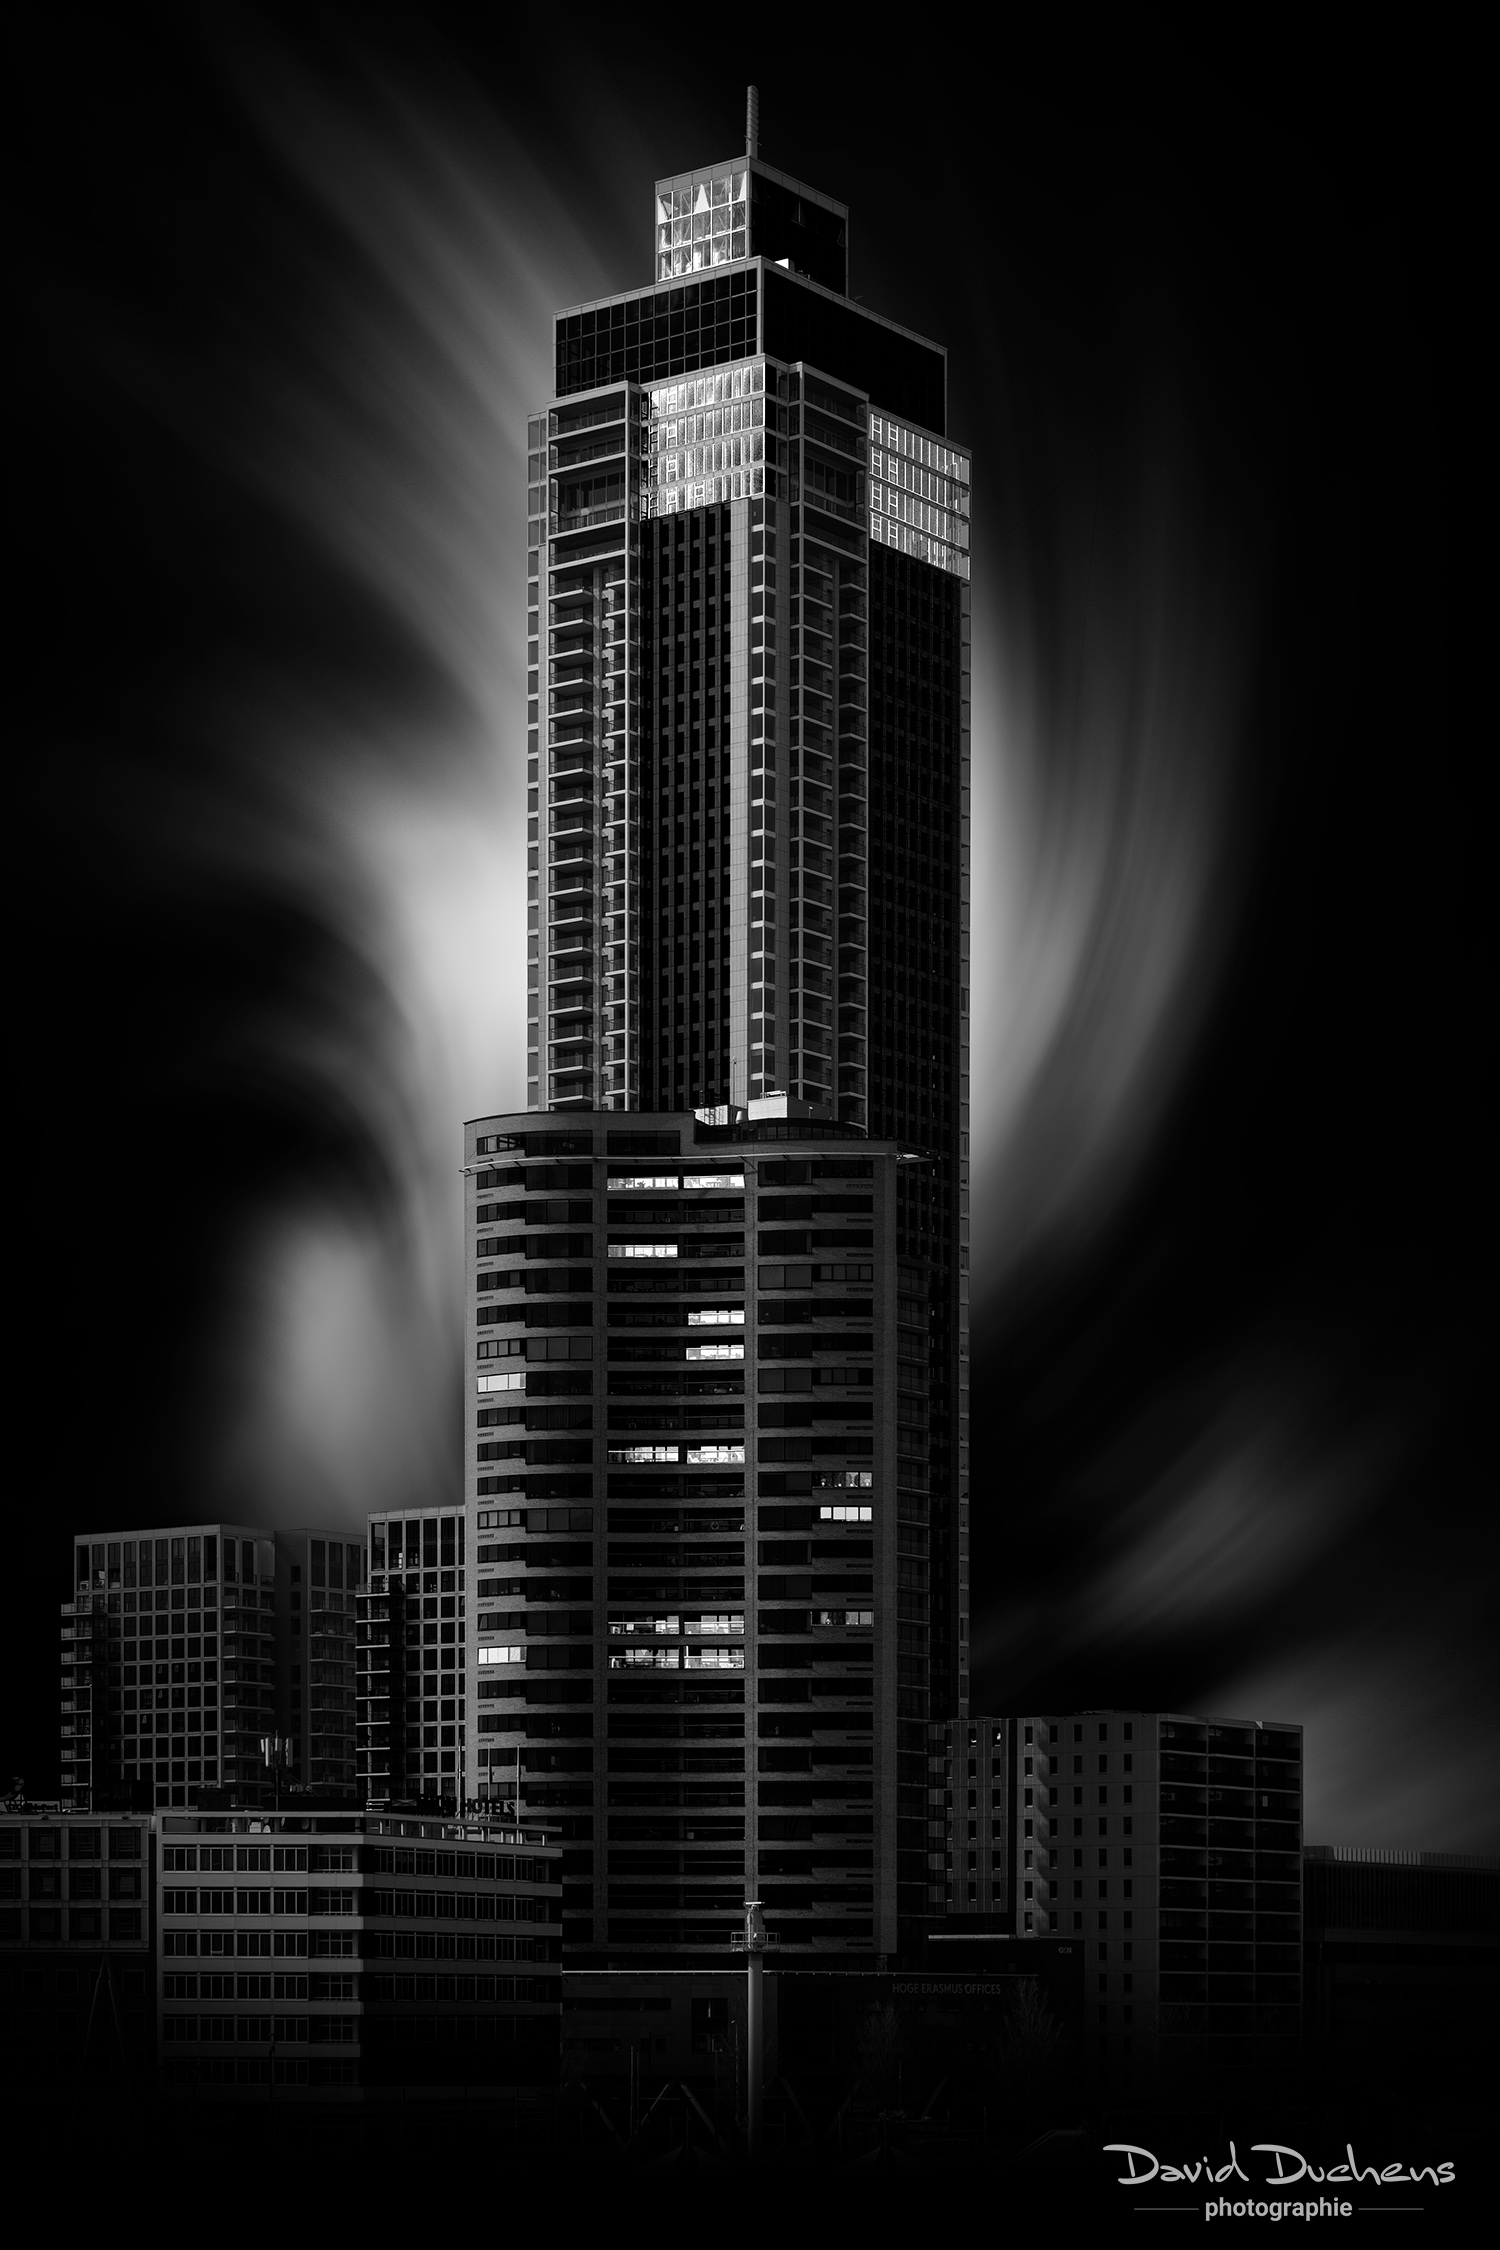
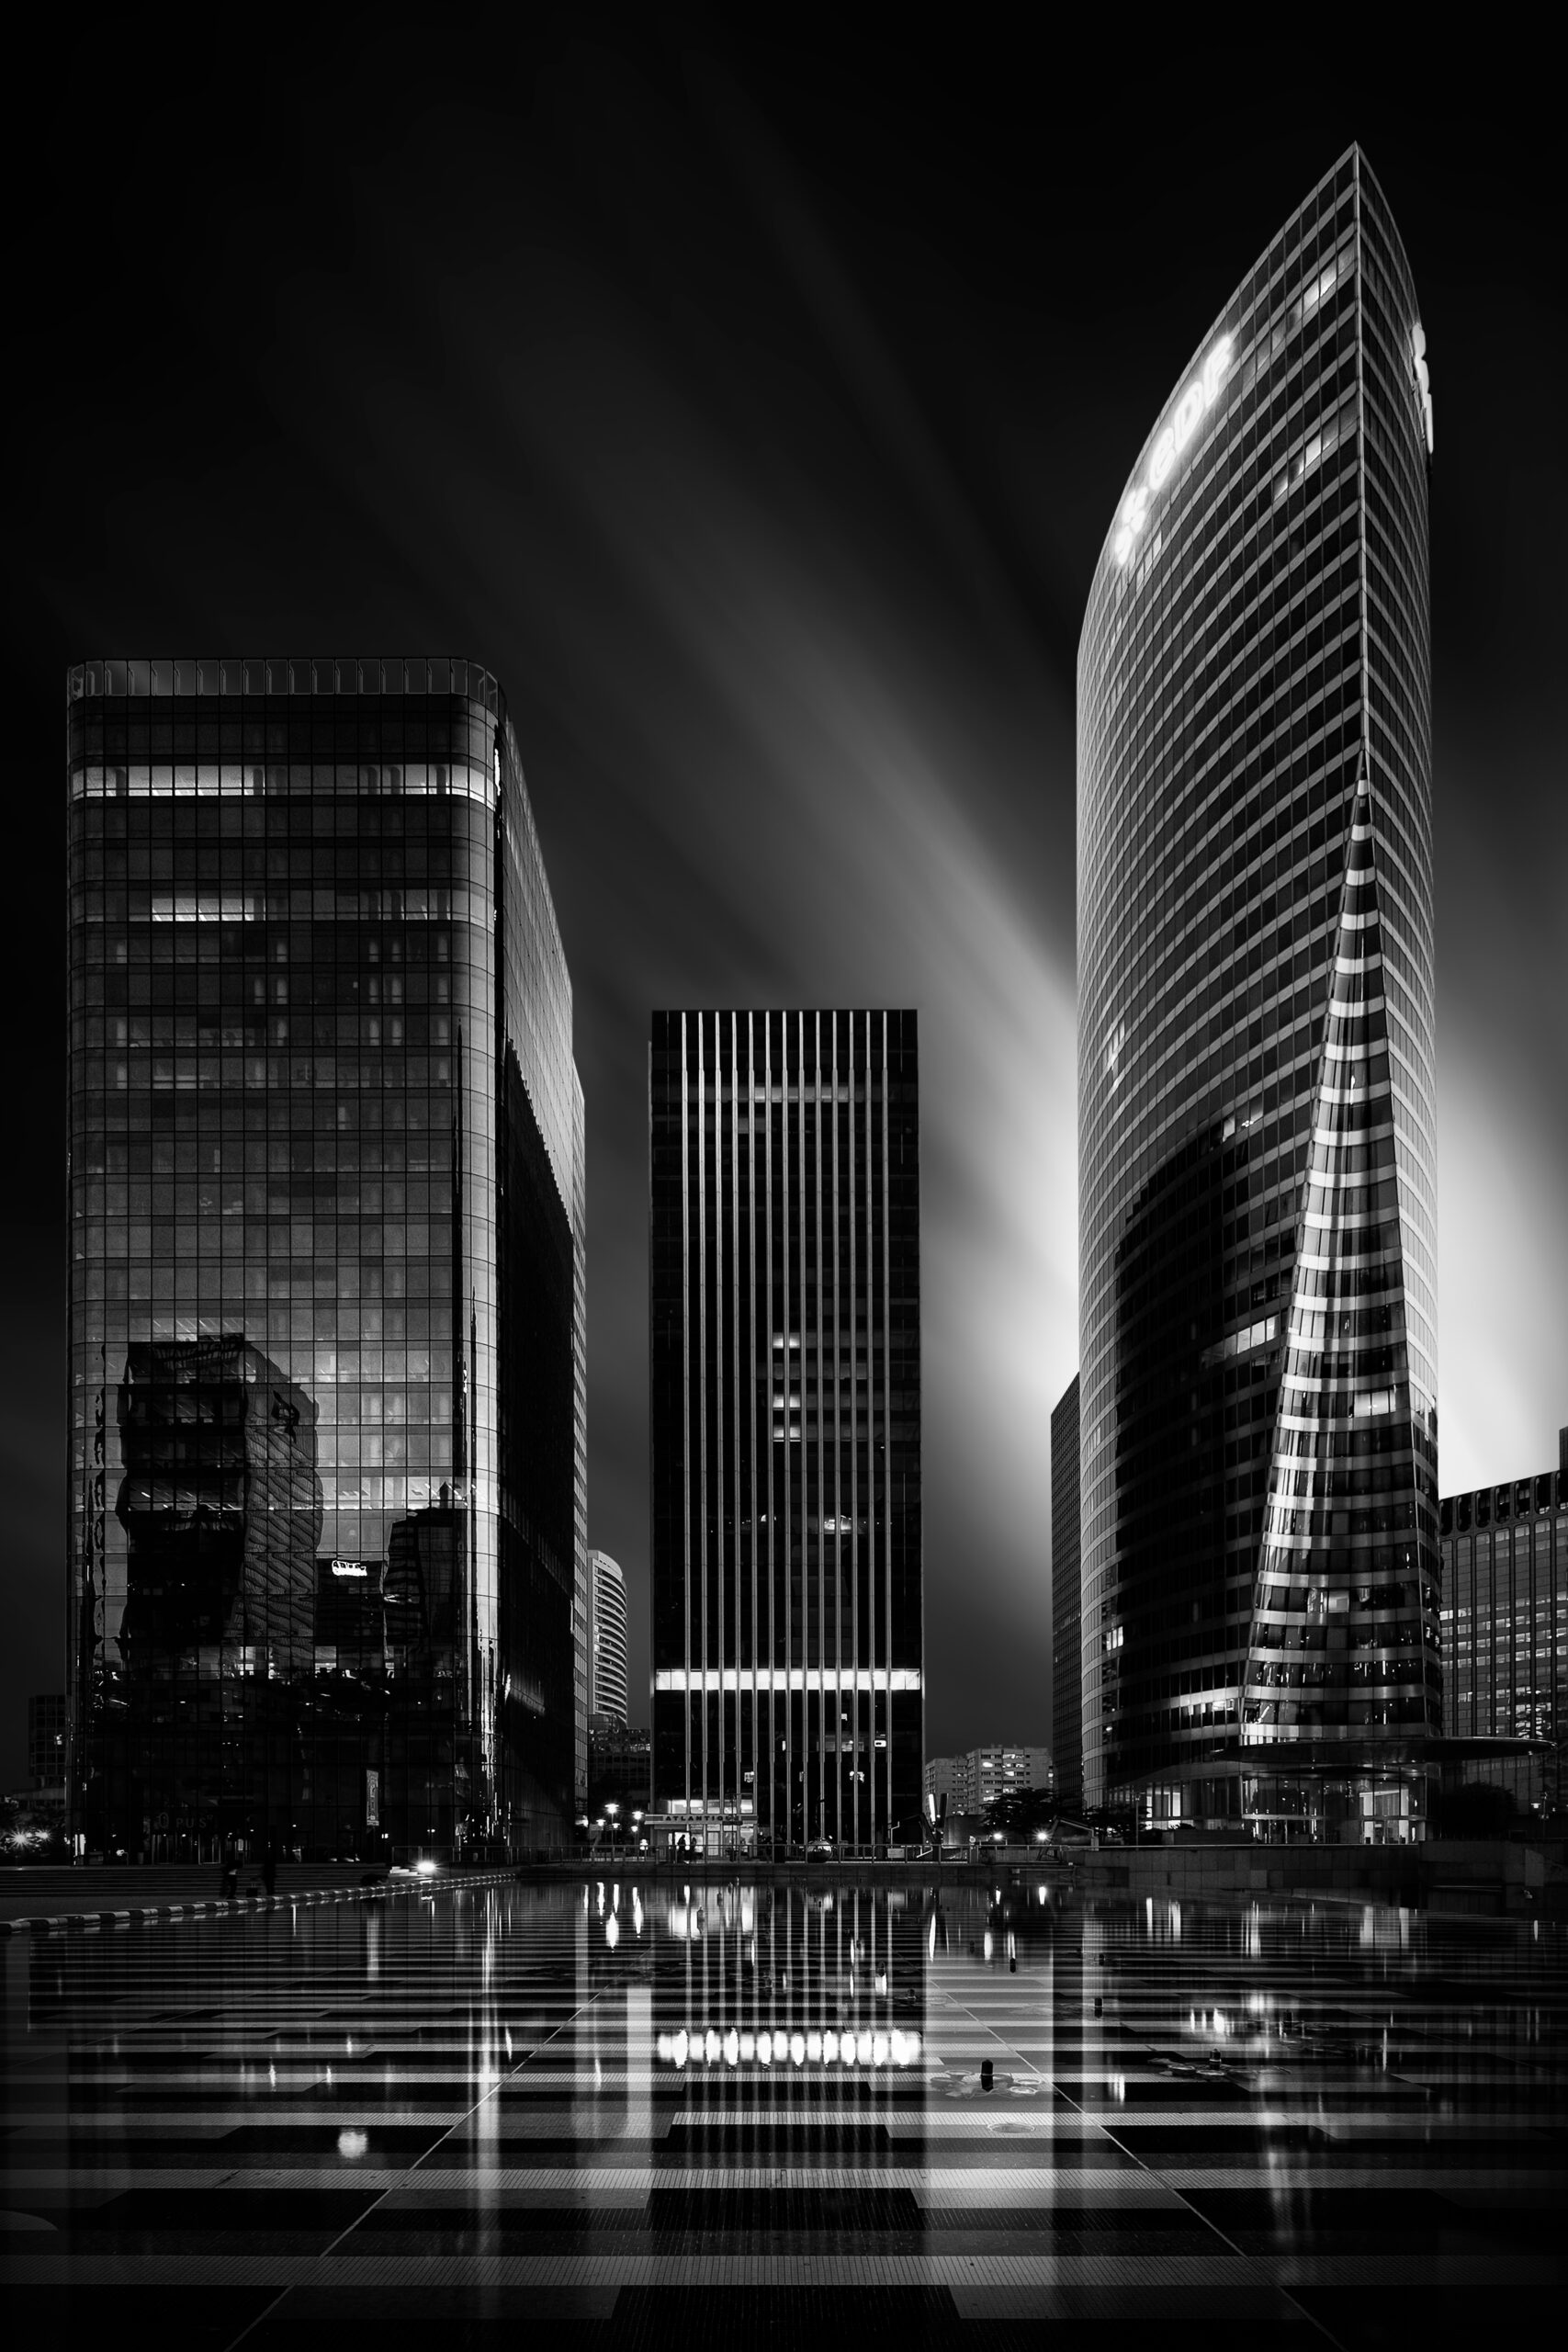
This course will teach you how to create images in the style you can see in the portfolio (in the black & white architecture section). You can also click on the thumbnails to enlarge them.
Here, we'll look at techniques that go far beyond simple black & white conversion. This style of image requires a great deal of work on light and shadows. On the one hand, it calls for a great deal of manipulation of layers, and on the other, an artistic approach. It's all about finding the right balance of contrasts, and a certain realism in the coherence of light effects.
This course is aimed at Photoshop users who have already mastered the basics of the software (in particular, the use of layers and blending masks, the notions of selection and clipping, the use of the various selection tools, dynamic objects, etc.). If you have not fully mastered all the points, we can review some of them during the course. Please don't hesitate to contact us to discuss this.
Course structure and content :
- Introducing this image style: I'll briefly explain our technical and creative approach to these monochrome images.
- Shooting conditions: I'll give you tips on how to get the best possible images for initial retouching, starting off in the best possible conditions.
- Developing the file in Camera Raw: as the raw file is the most complete, since it is by definition unprocessed, it is from this that we will make the basic adjustments. In addition, we'll indicate here a few interface preference settings, concerning the opening of files in Photoshop in general.
- Opening the image in Photoshop: at this stage, a few additional adjustments will be made to the image.
- Interface settings: Here, too, we'll be making a few interface settings. These will be useful in general, but especially for working with the type of image we're interested in here. In particular, I'll explain image straightening techniques, often very useful in architectural photography.
- The tools you'll need: we'll review the main tools we'll be using to create (including selection tools, blend masks, adjustment layers, dynamic objects and filters). There are many possibilities and choices when using Photoshop, but here I'll suggest some simple and effective ones.
- Converting images to black & white: I'll show you two methods here, along with the necessary settings.
- Preparing selections: this is where the creative process begins. Here you'll learn how to make your choices, by selecting different areas of the image, and thus prepare it for the following stages.
- Creating lighting effects: you'll learn the different techniques for creating lighting effects for this style of image.
- Replacing the sky: if the sky is present in the composition (which is almost always the case), you'll learn how to replace it, and give it different effects (spun, etc.).
- Creating the overall mood: at this stage, we'll explain a number of techniques for creating the final mood of the image. We'll be working on contrasts in particular.
- Corrections and finalization: this is where you'll make any minor alterations. I'll also teach you two additional techniques for fine-tuning the lighting effects. Finally, I'll give you a few tips for improving certain aspects of the image.
- Image recording: choice of high-definition and web formats.
- Q& A: we'll review the concepts we've studied, and answer any questions you may have.
Remarks :
- This course consists of a theoretical part and a practical part. I will adapt and alternate these two parts according to the knowledge you have already acquired, and the techniques I will introduce to you.
- For the practical part, you will be guided through the image creation process.
- To optimize the duration of the course, please read the "How Photoshop courses work" section on the FAQ page.
For further information:
- A summary will be given to you after the course. It will be sent to your e-mail address the same day, in PDF format. This 14-page summary includes written explanations, as well as screenshots of the Photoshop interface. You'll be able to review every step of the image creation process.
Video summary:
This course is accompanied by a video summary.
It is recorded during the course and summarizes the key points. Also, depending on your specific needs, which will be assessed during the course, certain additional points may be added to the video.
The video summary will be sent to you in MP4 format, via WeTransfer, after the course.